Build-time, dynamic OpenGraph images with Astro & Satori
I wanted to have each post of my blog have a unique OpenGraph preview. I think I first saw this on Chris Coyier’s website, but it’s hard to tell, it’s pretty common now.
A few minutes in Figma, and I decided that in the spirit of my blog, a super minimal, almost lazy design would probably suit it best, so I came up with this:
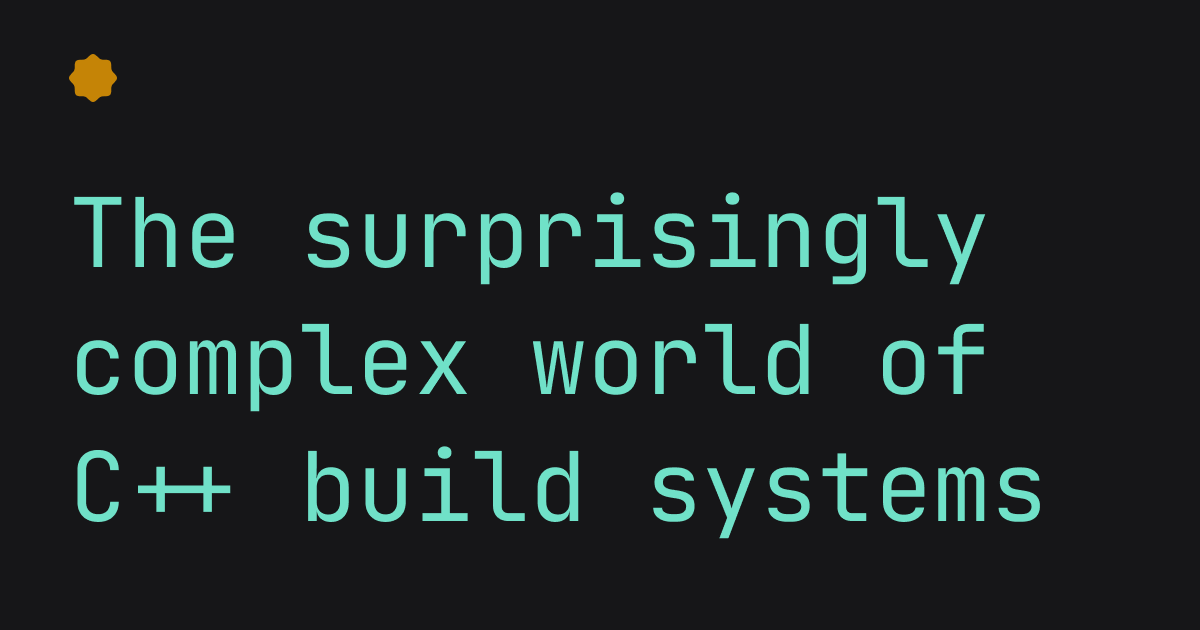
A logo on the top left, and the title of the post in big lettering. The size of the font is only about big enough to accomodate around 4 lines, which should be plenty for even the longest of titles. My site is generated entirely at build time thanks to Astro, so this image generation could fit in perfectly in the build process using a custom integration.
Here’s my final setup, as a TL;DR
I’m going to be using Satori to generate my images, but an alternative way would be to use a browser automation tool like Puppeteer or Playwright to capture a screenshot of an HTML page. GitHub’s blog explains the general idea. I feel like this is a lot more complicated, and anticipate issues with CI systems running into problems with launching a full browser. Satori is more lightweight for this task in my opinion.
Let’s begin.
Generating an OpenGraph image
I heard about Shu Ding’s Satori
library making the rounds a few months ago and thought it was extremely impressive.
It is also super easy to use. First thing to do is build up the image we want to
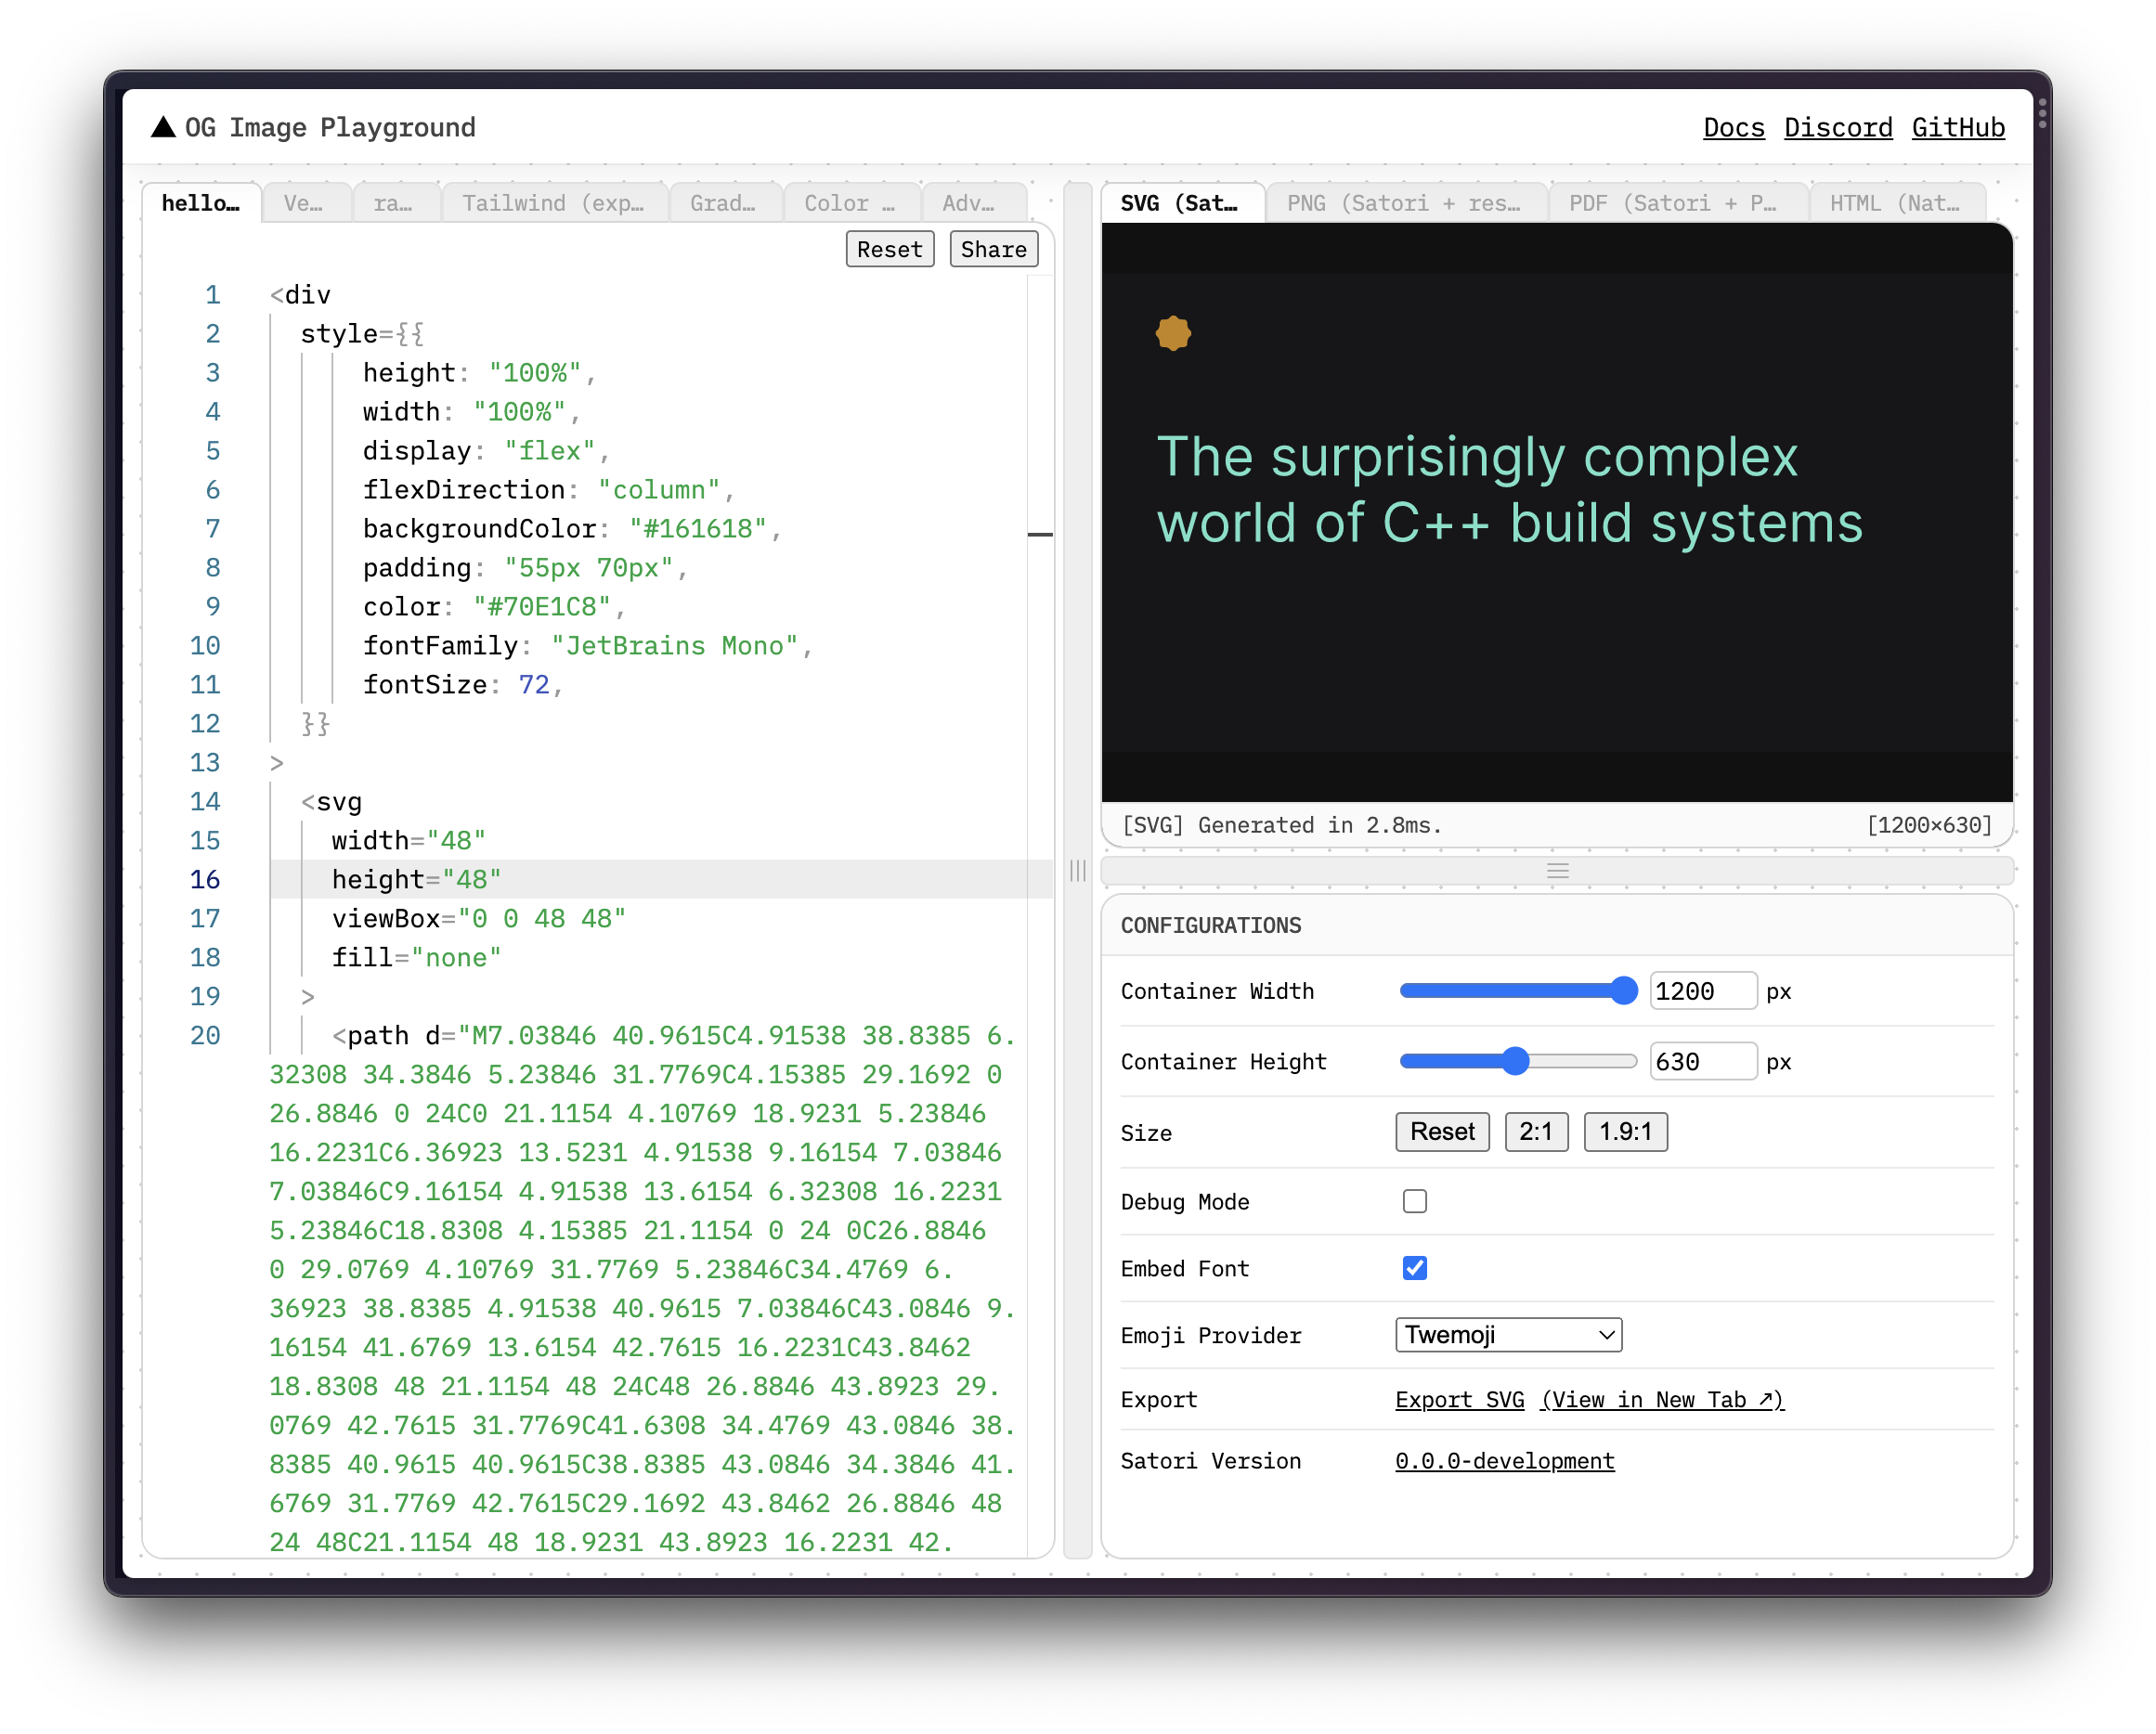
generate. Vercel’s OpenGraph Playground is a
great place to do that. OpenGraph images are usually 1200x630px in size, make
sure you set that up correctly!
Here’s what my design looked like:
The code, for convenience:
<div
  style={{
    height: "100%",
    width: "100%",
    display: "flex",
    flexDirection: "column",
    backgroundColor: "#161618",
    padding: "55px 70px",
    color: "#70E1C8",
    fontFamily: "JetBrains Mono",
    fontSize: 72,
  }}
>
  <svg width="48" height="48" viewBox="0 0 48 48" fill="none">
    <path
      d="M7.03846 40.9615C4.91538 38.8385 6.32308 34.3846 5.23846 31.7769C4.15385 29.1692 0 26.8846 0 24C0 21.1154 4.10769 18.9231 5.23846 16.2231C6.36923 13.5231 4.91538 9.16154 7.03846 7.03846C9.16154 4.91538 13.6154 6.32308 16.2231 5.23846C18.8308 4.15385 21.1154 0 24 0C26.8846 0 29.0769 4.10769 31.7769 5.23846C34.4769 6.36923 38.8385 4.91538 40.9615 7.03846C43.0846 9.16154 41.6769 13.6154 42.7615 16.2231C43.8462 18.8308 48 21.1154 48 24C48 26.8846 43.8923 29.0769 42.7615 31.7769C41.6308 34.4769 43.0846 38.8385 40.9615 40.9615C38.8385 43.0846 34.3846 41.6769 31.7769 42.7615C29.1692 43.8462 26.8846 48 24 48C21.1154 48 18.9231 43.8923 16.2231 42.7615C13.5231 41.6308 9.16154 43.0846 7.03846 40.9615Z"
      fill="#FFA800"
      fill-opacity="0.75"
    ></path>
  </svg>
  <div style={{ marginTop: 96 }}>
    The surprisingly complex world of C++ build systems
  </div>
</div>
I picked the longest post title on my blog to see if that would fit. There are two problems with this currently though:
- The font is boring. It’s the default
sans-seriffont - The templating language is apparently JSX, which will be problematic because my
blog doesn’t use React/JSX. Even if it did, transpiling this in my
astro.config.mjswould just complicate things.
Fortunately, Satori has solutions to address both these problems, but we’ll solve them once we hook this image generation up to our build process.
Custom Astro integrations
Let’s try and generate a single hard-coded SVG as part of our build process. The
most obvious way to do this is to have a separate script that runs after astro build.
This script would call Satori, and write the SVG it returns to disk.
A much slicker way to do this though is to do image generation in an Astro integration,
which means that it’ll happen as part of astro build. Writing a custom integration
is extremely easy. Let’s start with a simple one that just logs something after the
build is done:
const og = () => ({
  name: "satori-og",
  hooks: {
    "astro:build:done": () => {
      console.log("satori-og: Build finished!");
    },
  },
});
An Astro integration is just an object with name & hooks keys. The name is
self-explanatory, but the hooks object lets do hook into various stages of the
build. Here, I’m connecting up a function that will be called after the build is
complete. This is the only hook we need for this tutorial, but a full list of all
the hooks Astro exposes is on their docs site.
Now if we just tell Astro to run this integration by adding it to the config’s integrations
array:
// astro.config.mjs

export default defineConfig({
  integrations: [og()],
});
then run astro build, you’ll see your log after your site finishes building, but
before the command exits. Neat!
Hooking Satori up to Astro’s build
Let’s take our next baby step and hook Satori up to this custom Astro integration. Here’s what that looks like:
// astro.config.mjs

import satori from "satori";

const og = () => ({
  name: "satori-og",
  hooks: {
    "astro:build:done": () => {
      const svg = await satori(
        <div style={{ color: "white" }}>Hello World!</div>
      );
      console.log("Generated image: ", svg);
    },
  },
});
Clearly, we cannot just use JSX in here. There are unnecessarily complex ways to make this work, but let’s keep it simple. Turns out, what Satori needs is just an object that looks like transpiled JSX. For simple use cases like ours, we can just write this object out ouselves. If you’ve never peeked behind JSX, this might look strange, but you should be able to roughly recognize the shape.
What we had right above can be represented this way:
// astro.config.mjs

import satori from "satori";

const og = () => ({
  name: "satori-og",
  hooks: {
    "astro:build:done": () => {
      const svg = await satori({
        type: "div",
        props: {
          style: {
            color: "white",
          },
          children: "Hello World!",
        },
      });

      console.log("Generated image: ", svg);
    },
  },
});
On every depth of this object, there is a type key that represents the JSX “tag”
we’re creating. The props key are the props you pass in to this “tag”. Essentially,
<div foo="bar"></div> is the same as { type: 'div', props: { foo: "bar" } }.
A special children key can be used to define children of this JSX “tag”. That’s
it! That’s all you need to generate any kind of JSX tree.
If we run this now, we see that we see an SVG string printed out as part of astro build.
We can replace the simple markup I had with the one we generated on the OG playground.
You can do this manually like I did, or if your image is more complex, try pasting
your JSX into Babel’s online REPL. It’s not perfect though,
and you might still have to do some manual tweaking.
To use a custom font, Satori accepts a fonts option. It is pretty well documented, so there’s no point in repeating things here.
Getting there!
Parsing frontmatter and generating things for real
Let’s wrap this up and generate one image per page now. The astro:build:done hook’s
callback gets an object parameter as its first argument that has everything we need:
// astro.config.mjs

import satori from "satori";

const og = () => ({
  name: "satori-og",
  hooks: {
    "astro:build:done": ({ dir, pages }) => {},
  },
});
The dir is the final location of the built pages (usually ./dist/), and the
(undocumented) pages param will be an array that lists the pathnames of all pages.
The reason we need the pages param here is because you most likely have a catch-all
dynamic route (/posts/[...slug].astro or similar) for all your blog posts. This
pages param will have all of them resolved already. It might look something like:
[
  { pathname: "/posts/post-1" },
  { pathname: "/posts/post-2" },
  { pathname: "/posts/post-3" },
];
So now you can iterate over all these pages, discarding ones you do not want a custom OpenGraph image for (like a landing page, or an about page or something). Here’s where things get a little murky though.
As soon as you start wiring things up, you’ll realize that to generate truly dynamic images, you need access to the frontmatter for each page. None of the documented Astro integration hooks expose this information though, so we’ll have to take matters into our own hands. This is easy to do, but it does affect the “slickness” of our solution.
Parsing frontmatter is just a matter of using the gray-matter library. It exposes
a single function that takes in a string (the file content) and spits out an object
that is the parsed frontmatter. Astro’s official MDX integration uses gray-matter
under the hood as well, so we’re in good company.
So here’s the plan:
- In the
astro:build:donehook, iterate over thepagesarray. - Use the
pathnamekey in apageselement to figure out which page we’re working with - Using this pathname, figure out where the page’s source file is. This will usually be
straight-forward. Most likely you will just prefix it with
src/. - Parse the frontmatter for this source file (MD or MDX) using
gray-matter. - Find the text you want to embed into the final image (the
titlein my case) - Use Satori to generate the SVG
- Convert this SVG into a PNG using the
@resvg/resvg-jslibrary - Write this PNG to a predictable location so you can link to it from the page itself.
Code will explain this so much better than I ever could, so my final setup follows. You might think this would slow down the build, and it does, but not by a lot. Plus, it’s not like you’re building these images multiple times a day. During development, your custom integration won’t run, and your CI is probably what builds your site, so you won’t even notice it.
const og = (): AstroIntegration => ({
name: "satori-og",
hooks: {
"astro:build:done": async ({ dir, pages }) => {
try {
// Read a custom font into an ArrayBuffer
const jetBrainsMono = fs.readFileSync(
"public/JetBrainsMono-Regular.ttf",
);
for (const { pathname } of pages) {
// 1. For every resolved page, do the following:
if (!pathname.startsWith("posts/")) {
// Skip over all pages that aren't posts and hence don't require a custom image
continue;
}
// 3. Locate the source file for this resolved page. This depends heavily on your setup, but it should be straight-forward to do. After all, resolved pages and your source content would follow a similar structure!
const file = fs.readFileSync(
`src/content/posts/${pathname.slice(2, -1)}.mdx`,
);
// 4. Parse frontmatter for our source file, and get our title
const { title } = parseFrontmatter(file).data;
// 6. Render our SVG. The `render` function returns the JSX object that we talked about. I've separated this out just to keep things easy to follow
const svg = await satori(render(title), {
width: 1200,
height: 630,
fonts: [
{
// Supply in our custom font
name: "JetBrains Mono",
data: jetBrainsMono,
weight: 400,
style: "normal",
},
],
});
// 7. Render our SVG as a PNG
const resvg = new Resvg(svg, {
fitTo: {
mode: "width",
value: 1200,
},
});
// 8. Write this PNG to a predictable location. I keep this right next to the page itself. That way, I can link to it easily.
fs.writeFileSync(
`${dir.pathname}${pathname}og.png`,
resvg.render().asPng(),
);
}
// Just some fancy success message to make this plugin look like it belongs
console.log(`\x1b[32mog:\x1b[0m Generated OpenGraph images\n`);
} catch (e) {
console.error(e);
console.log(`\x1b[31mog:\x1b[0m OpenGraph image generation failed\n`);
}
},
},
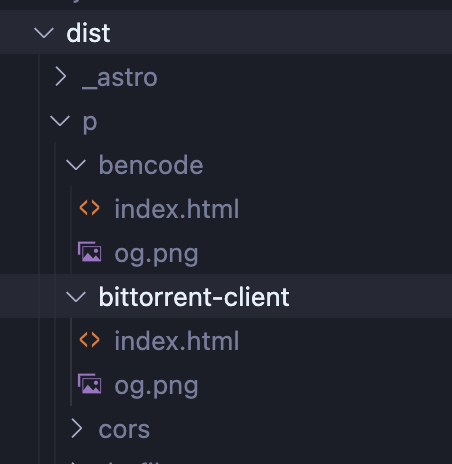
});Yep, that’s it! If you look at your build folder now (usually ./dist/), you’ll find
an og.png image right next to the HTML file Astro generated:
Linking to this then is as simple as:
<meta property="og:image" content={new URL(Astro.url.pathname + "og.png",
Astro.site)} />
Depending on how you use layouts etc., it might differ for you a little, but the point is that the OpenGraph image’s path is derivable from the current page’s path.
Again, feel free to browse my setup, and ask questions if you have any!
How did you figure this out?
We’re done now, but one question that I always have after reading posts like this is: how did you know what to do? So here’s how:
- I had the initial idea
- First I tried to find an existing integration. I found astro-og-canvas, but it looked like it didn’t give you the freedom to do what you wanted, instead things were pretty hard-coded.
- After not finding anything, I wondered if I could build it myself.
- I remembered Satori was a thing that lets you generate SVGs, so I gave it a shot using the OG Playground that was linked from its README.
- The README also told me how to use custom fonts, but the online playground didn’t support it, so I came back to my local machine, installed Satori and got initial image generation working (with a hard-coded title).
- Next I wrote a script that I would run after
astro buildto see if everything was kosher. - Now I wanted to see how easy writing an integration for Astro would be, to
see if I could generate images as part of
astro build. I found their docs, and it looked straight-forward enough to give a shot. - Reading the docs I figured out which hook to use, and started generating this
hard-coded image as part of
astro build - To generate an image per page, I wanted the metadata for each page, so I could use the title from the frontmatter.
- The first problem was running a function for every page. It hit me that I use
the offical @astrojs/sitemap integration
that probably runs for every page, so I looked at its code to find the undocumented
pagesparam in theastro:build:donehook. - Next, I wanted to parse frontmatter, so I looked at @astrojs/mdx to see how they were doing it.
- Unfortunately came to the conclusion that I needed to hook into Vite’s build
process to do what I really wanted. This meant forking the
@astrojs/mdxintegration. - Like any hacker, I then decided to just make it work somehow. I saw a clear
pattern in the
pagesargument and the shape of my routes, and figured I could probably parse frontmatter myself. This would only work for Markdown/MDX of course, but that wasn’t an issue for me, because all my posts are MDX files in a got repo. - And that was it! I had all the pieces and all that was left was to wire things up. Surprisingly, it didn’t slow down the build process that much, and on the CI, the slowdown was barely noticeable. Success!